The Busbars 2.0
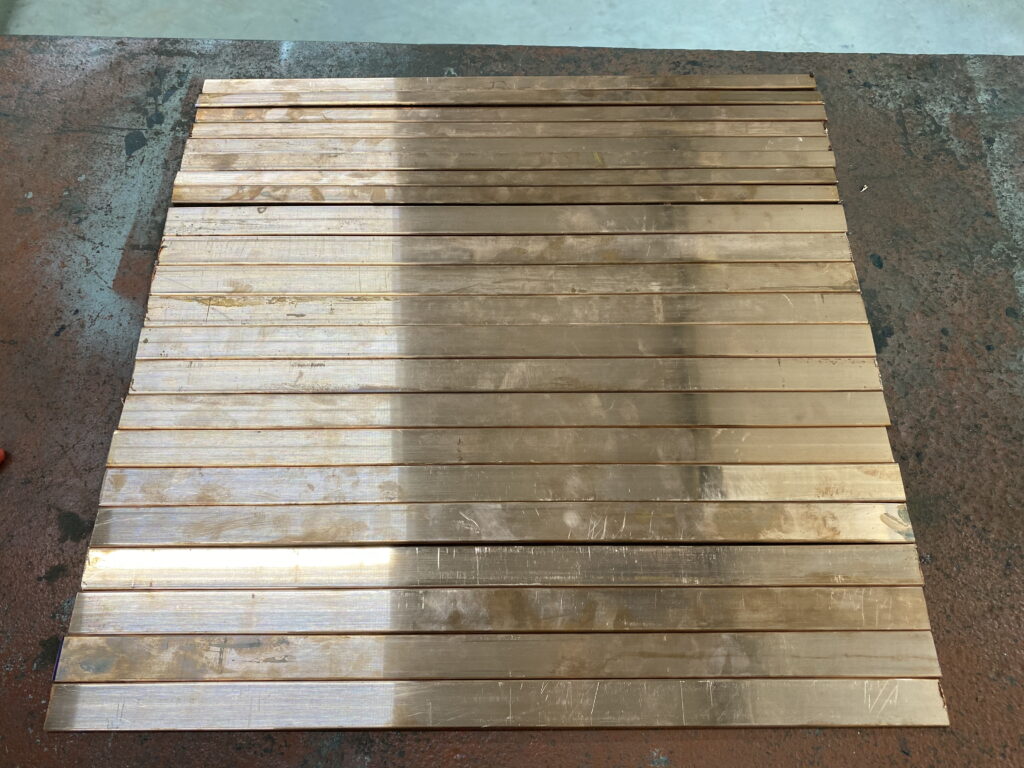
Now that I have a completely new way of mounting the modules – and more of them, I needed to remake all the busbars. I found a local company willing to make them for me with their CNC Mill. This will ensure the holes are precise. I also didn’t feel like drilling hundreds of holes. This weekend I cut the copper into 500mm lengths and then smoothed the ends with a wire wheel.
The busbar material:
7x 500mm x 15mm x 3mm Copper Bar
14x 500mm x 25mm x 3mm Copper Bar
+ a few smaller lengths of 25mm x 3mm for connecting each parallel pack.


I gave the go ahead to drill out the rest. Here is what they looked like when I got them back from the CNC.

I decided to polish the busbars before installing. Brasso worked well.

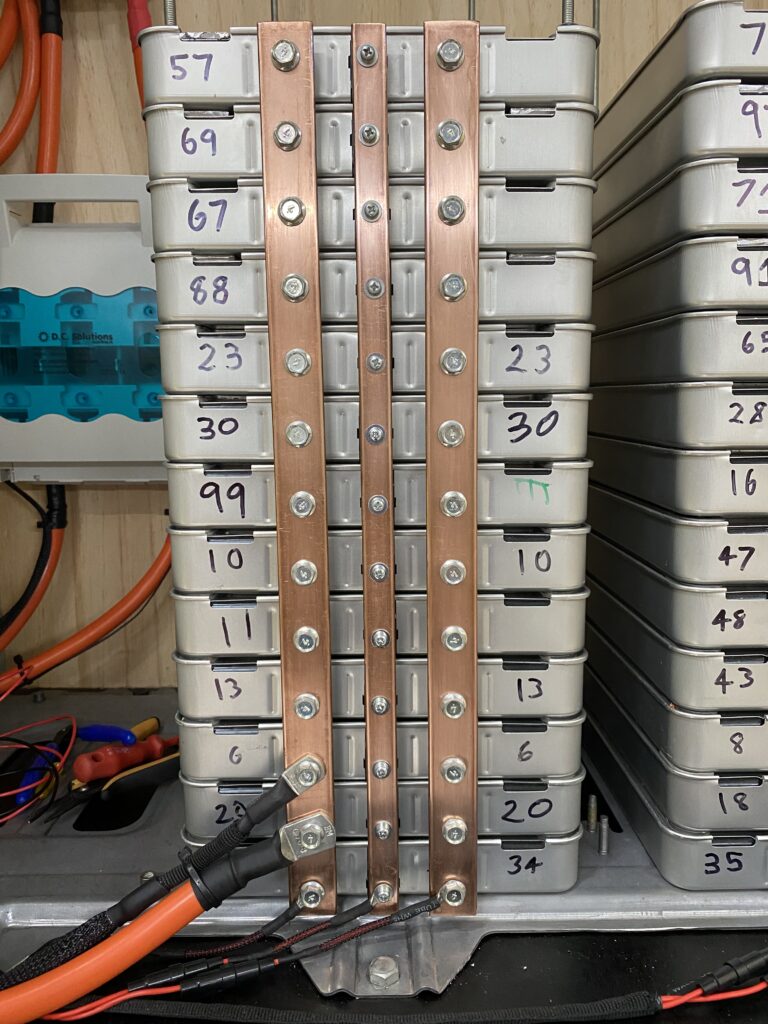


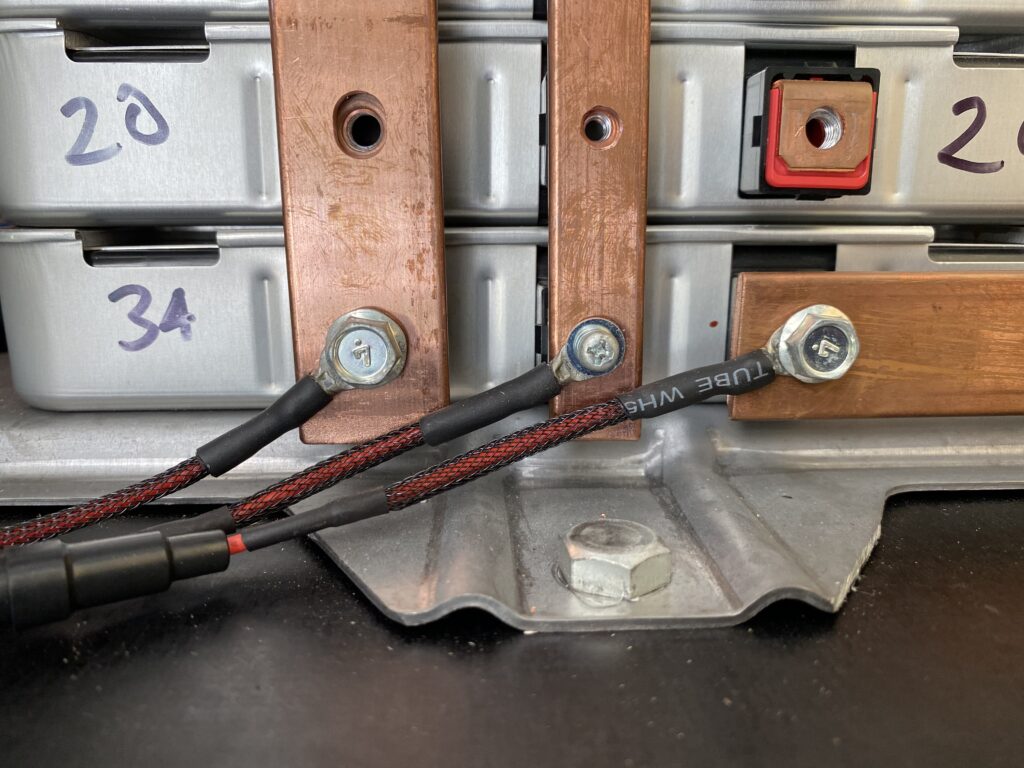
All the busbars are now installed and I have powered up the battery (Cerbo + Batrium BMS)
The next steps are to connect the shunt trip, tidy up and then get sparky to do the 240V side.