Electrical Meterbox Work
I had an electrician add a second electrical box to the side of my house to accommodate my essential circuits. He also did a bit of a tidy in the main box and added my EM24 3-phase power meter and a Cat6 cable for it.

I had an electrician add a second electrical box to the side of my house to accommodate my essential circuits. He also did a bit of a tidy in the main box and added my EM24 3-phase power meter and a Cat6 cable for it.

As I have some time to wait for my electrician, I thought I would have a go at nickel plating my busbars. In an earlier blog post I created my Nickel plating solution and have been storing it for when it was required. I found a test busbar and attempted nickel plating it. I cleaned…

Now that I have a completely new way of mounting the modules – and more of them, I needed to remake all the busbars. I found a local company willing to make them for me with their CNC Mill. This will ensure the holes are precise. I also didn’t feel like drilling hundreds of holes….

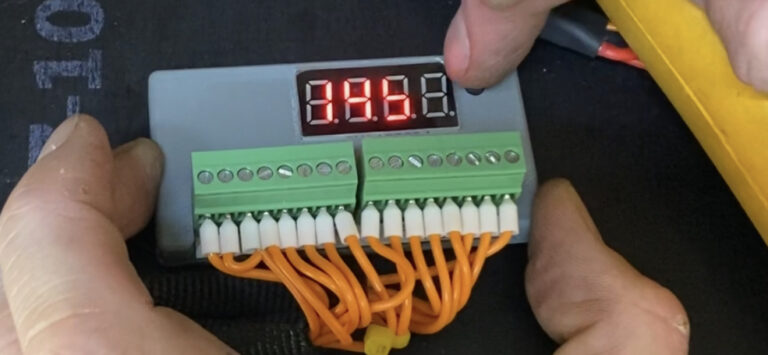
Now all the busbars are installed I can finally fire up the Batrium. Using the Testmon I tested my wiring loom. All good. I also created a small precharge resistor pack so I can precharge the caps in the Victron Multiplus II inverter. I now have a bit of a wait before anything new can…

Today I received the last two pieces which has allowed me to complete the high current wiring. I needed two Cabec CB 70-8 Bell mouth lugs that will fit onto the Batrium shunt.
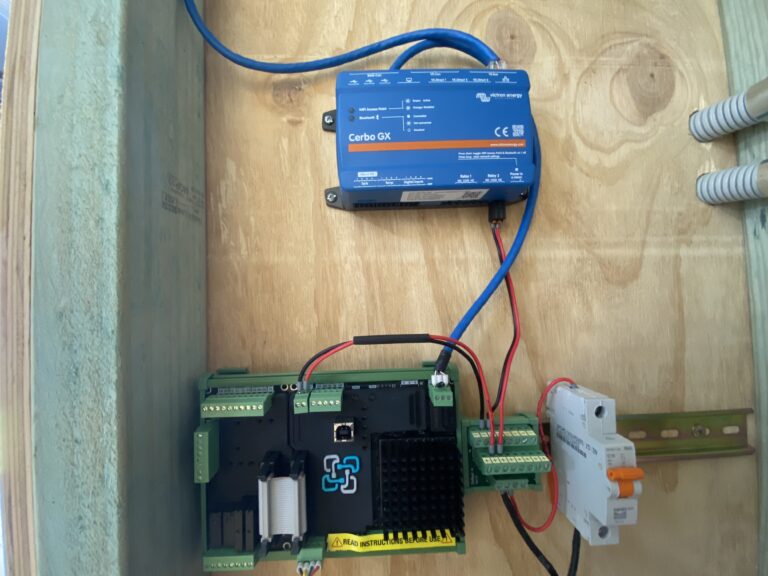
While waiting for other parts, I figured now was as good a time as any to tackle the communication cable between the Batrium and Victron Cerbo unit. The Batrium Documentation doesn’t spell it out, but does give enough information and links to work it out. One end of the cable is standard ethernet as shown…
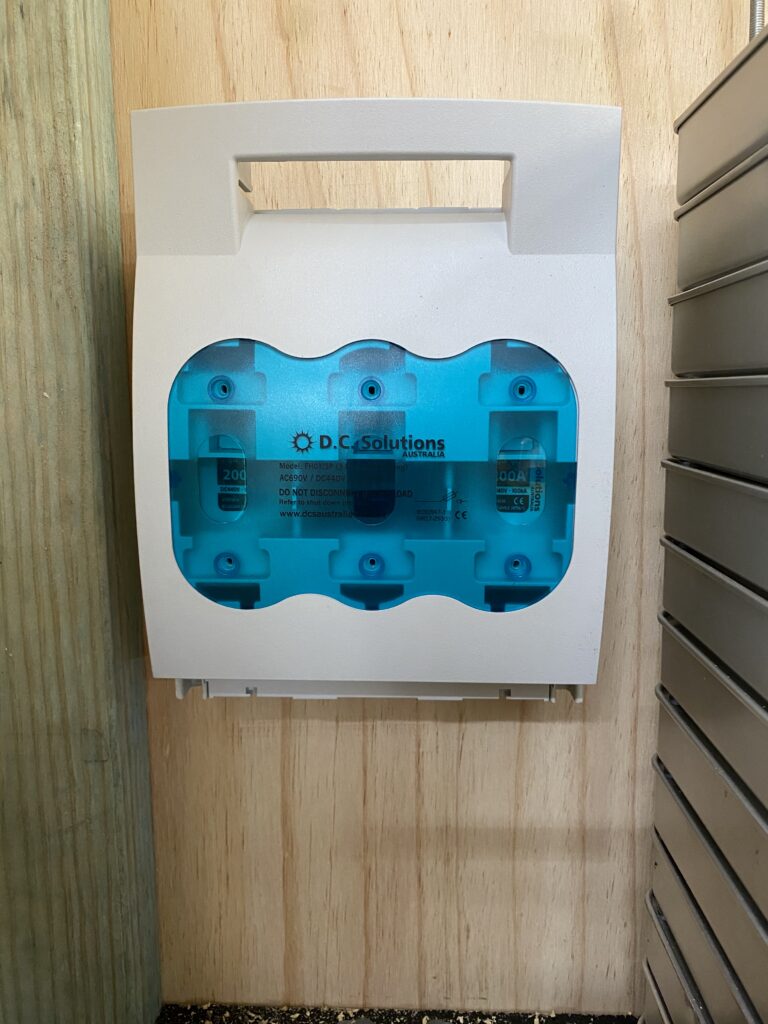
Now for the fun part. I started to play around with suitable positions of the BMS, Fusebox and Breaker (shunt trip). I am using 70mm welding cable I obtained from Metalland and terminating with Cabec 70-8 cable lugs and covering with heat shrink.

My shunt trip operates from 48V making it easy to power. I added some wire with Ferrules, drilled a hole in the side of the breaker and fed the wires through. I also tied a not in the wire on the inside of the breaker to stop it pulling through.

After watching Lithium Powers youtube video I got motivated to start the BMS Balance Leads. I purchased some ring terminals and using some wire sheath I got from China months ago I started work.